I’ve long enjoyed taking part in CTF competitions and solving machines on Hack The Box and TryHackMe, so I need a lot of tools installed on my system to tackle all these challenges. I didn’t want to clutter my system with a bunch of utilities and one-off scripts that, by the way, you can’t always trust either, so here’s how I solved that problem.
How I ended up using a container
The obvious and simplest solution was to use my main operating system. But I didn’t like that approach from the very first day I got interested in CTFs, because you can’t always fully check exploit scripts downloaded from the internet. From a security standpoint, that’s no good at all.
So I initially used a separate operating system running in a virtual machine. At different points, I used different distributions: Kali Linux, Parrot OS, BlackArch. It worked: all the basic tools were there, I could install more, a virtual machine is an isolated environment, and I could also share files from the host by mounting a host directory in the guest. I used this approach for many years, but it had plenty of drawbacks I always had to put up with. Overall, these were the pros and cons:
| Pros | Cons |
|---|---|
| The system runs in an isolated environment without access to the host filesystem, which is great when security is a concern. | Besides your main system, you also have to configure and update the guest. I agree that ideally you shouldn’t bother with this, but still, once you get used to certain keyboard shortcuts and tools, you want to use them in the virtual environment too. |
| You can move the virtual machine image to another computer and keep using it without any trouble. I had to do this at least a couple of times. | The guest system is slower than the host, so you have to spend time on optimization and configuration. |
| Convenient access to files from the host. You can even mount specific directories read-only. | A guest system with lots of tools starts taking up a huge amount of space over time, essentially turning into a dumping ground. Thankfully, it’s not your main system, but you still have to think about it and find compromises. |
| Before running an unverified exploit or experimenting with settings, you can save the system state and restore it in a couple of seconds if needed. | A virtual machine takes time to start. Annoying, but still something you can live with. |
That was how I approached CTFs for a long time. After that, I decided to install a second operating system alongside my main one and switch between them. This meant rebooting the computer, but working in a full environment is still nicer than working in a virtual one. Living with two systems, I quickly realized this wasn’t for me, because it came with almost all the drawbacks of a virtual machine, plus the constant rebooting. So I soon arrived at my current setup: a Docker container.
More about the Docker image
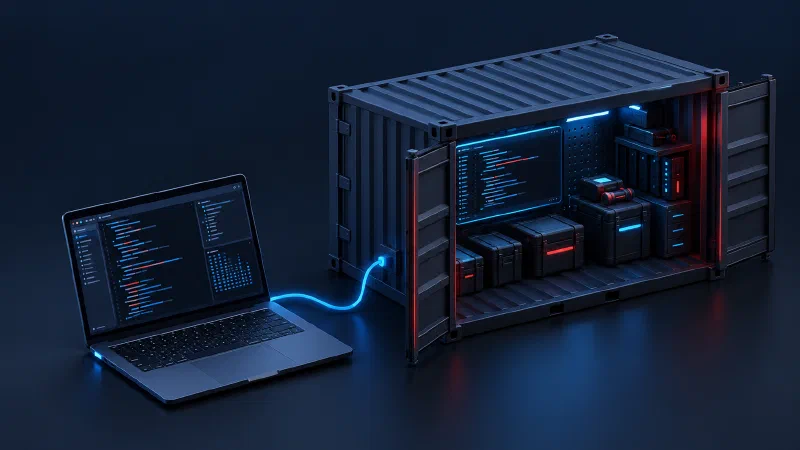
Of course, I started by looking at my options, meaning which existing Docker images I could use. Kali Linux provides an official image, but as an Arch Linux fan and devotee, I soon started looking at the BlackArch Linux image. The BlackArch Linux base image is maintained and updated, and that’s what I decided to build on. What it lacked were frequently used tools and some configuration I needed, like an advanced shell and a nice-looking Vim setup, but the main thing was that the packages I use regularly weren’t preinstalled. Docker lets you take an image as a base and build your own on top of it, which is exactly what I did.
An interesting detail about the BlackArch Linux Docker image is that there are actually two images: one for terminal use and another for GUI use through noVNC . I decided to use the second one as my base so I could run graphical applications, and accepted the larger image size as a trade-off, since I knew my image would be large anyway: I was going to preinstall all the tools I needed.
The image is updated, built, and published to Docker Hub every day through GitHub Actions.
How I use the BlackArch Docker container
Running and working in a Docker container is very simple. All you need is a configured and running Docker service, and starting it is straightforward:
mkdir -p ~/ctf/example-box
cd ~/ctf/example-box

docker run -it \
  --name blackarch-ctf \
  -v "$PWD":/app \
  -v "$HOME/wordlists:/mnt/wordlists" \
  -v /etc/hosts:/etc/hosts:ro \
  ismd/blackarch
The working directory is bind-mounted into the container at /app, keeping files in sync between the host and the container. I keep and update my wordlists on the host and mount them with the -v argument too. The same goes for /etc/hosts: I’ve come to the conclusion that it should only be edited on the host, because if you edit it from the guest, the files can get out of sync when you save, and you can’t fix that without restarting the container.
I mostly use CLI tools, so I run the Docker container in terminal mode. But as mentioned above, I keep the option of running it in GUI mode in a browser through noVNC. There’s information on this in the README .
Working in a Docker container gives me all its benefits. For example, I can stop the container and pick up where I left off the next day:
docker start -ai blackarch-ctf
Or start another shell inside an existing container:
docker exec -it blackarch-ctf /bin/zsh
I usually run the reverse shell listener on the host:
nc -lvnp 4444
Still, if you want, you can forward a port to the container when creating it with -p <host-vpn-ip>:4444:4444, for example -p 0.0.0.0:4444:4444.
The permissions problem
One problem I regularly run into is that files created inside the container in the /app working directory end up owned by root on the host. I haven’t solved this yet, but I’m looking at two possible solutions:
- Rootless Docker requires some setup, but it is an official solution.
- Rootless Podman also requires some initial setup, plus using Podman
I’m looking into this now and would be glad to hear advice from people who’ve already dealt with something similar.
Trade-offs
The main trade-off I had to accept was the image size. As of November 2026, the image takes up 16.4 GB locally and requires a 5.3 GB compressed download via docker pull.
The source code for the image is on GitHub , and you can download the Docker image from Docker Hub .